How to Use CPVC Solvent Cement: Steps, Drying and Cure Times
Plumbing Guides
How to Use CPVC Solvent Cement: Steps, Drying and Cure Times
10 min read
Quick answer: Cut the CPVC pipe square, deburr and bevel it, dry fit and mark the socket depth, then brush an even coat of CPVC solvent cement on the pipe end and inside the socket. Push the pipe fully home with a quarter to half turn and hold it for 30 seconds. At 16 to 38°C a 1/2 to 1 1/4 inch joint can be handled after 2 minutes and pressurised up to 11 bar after 15 minutes, per Ashirvad's published cure table. Allow 50 percent more in humid weather.
When a CPVC joint leaks, the usual story is a joint made in a hurry, or a system filled before it had cured. The cement is not glue. It softens the surface of the pipe and the socket so the two fuse, and that needs the right amount of cement, wet surfaces at assembly, and time. This page gives the steps, the set and cure times from the manufacturers' own tables, and the mistakes worth avoiding.
One step or two step, and do you need primer?
For the house sizes, no primer. The Ashirvad CPVC technical manual recommends one-step solvent cement for pipe and fittings up to 2 inch (15 to 50 mm), and says plainly: do not use a primer with one-step solvent cement. Two-step cement, with a primer applied first, is Ashirvad's recommendation above 2 inch. Astral gives the same split from the other side: its CPVC PRO installation page says IPS 70 primer is needed before the cement for sizes larger than 65 mm (2 1/2 inch). IPS describes its Weld-On 500 CTS as a one-step cement for CTS SDR 11 CPVC through 2 inch, formulated to be used without primer where codes permit.
Two rules that do not bend. Use CPVC cement on CPVC, never PVC cement, because they are different solvents for different plastics. And stay within a brand where the warranty depends on it: Ashirvad's manual says its warranty applies only when Ashirvad FlowGuard Plus pipe, fittings and CPVC solvent cement are used together, and tells installers not to use other cement on its joints.
How to make a CPVC solvent joint, step by step
These steps follow the Ashirvad manual, which is the system most of our customers lay.
- Cut square. Mark the length and cut at 90 degrees with a ratchet cutter, wheel cutter or a fine saw. A square end gives the full bonding area. If the end shows a crack or splinter, cut off at least 25 mm beyond it.
- Deburr and bevel. Remove burrs inside and outside the pipe end with a deburring tool, a half-round file or a knife, and put a slight bevel on the outside edge. A sharp edge scrapes the cement out of the socket as you push in. Ashirvad's installation warnings say not to cement a pipe end that has not been bevelled.
- Clean and dry fit. Wipe dirt and moisture off the pipe end and out of the socket with a clean dry rag. Push the pipe into the fitting dry; it should go part way in and then tighten (interference fit). Mark the full socket depth on the pipe with a felt pen. A fitting the dry pipe slides all the way into, or will not enter at all, should be put aside.
- Apply cement. Brush an even coat of CPVC cement on the pipe end, to the depth of the mark, and inside the socket. The cement should flow like syrup or paint. If it has thickened or gone lumpy in the tin, do not use it.
- Assemble at once. While both surfaces are still wet, push the pipe into the socket to the mark, rotating it a quarter to half turn as it goes in to spread the cement. Line up the fitting.
- Hold. Ashirvad says hold the joint for 30 seconds so it sets and the pipe does not push back out. Astral's page says about 10 seconds; holding for the longer figure costs nothing.
- Check the bead and wipe. A continuous bead of cement should show all round the socket mouth. If there is no bead, there was not enough cement. Wipe the excess off the outside with a clean cloth.
- Leave it alone. Do not bend, load or fill the line until the set and cure times below have passed.
CPVC solvent cement drying time: set and cure tables
There are two different times. The initial set is how long before the joint can be carefully handled. The cure is how long before the system can be pressurised. Ashirvad's manual and IPS's published Weld-On set and cure timetable give the same figures for these sizes. Both say the times assume relative humidity of 60 percent or less, and that you should allow 50 percent more in damp or humid weather.
Initial set, before the joint is handled
| Temperature during assembly | 1/2 to 1 1/4 inch (15 to 32 mm) | 1 1/2 to 2 inch (40 to 50 mm) | 2 1/2 to 6 inch (65 to 150 mm) |
|---|---|---|---|
| 16 to 38°C | 2 minutes | 5 minutes | 30 minutes |
| 5 to 16°C | 5 minutes | 10 minutes | 2 hours |
| Below 5°C | 10 minutes | 15 minutes | 12 hours |
Joint cure, before the system is pressurised
| Temperature during assembly and cure | 1/2 to 1 1/4 inch, up to 11 bar | 1/2 to 1 1/4 inch, 11 to 26 bar | 1 1/2 to 2 inch, up to 11 bar | 1 1/2 to 2 inch, 11 to 22 bar | 2 1/2 to 6 inch, up to 11 bar | 2 1/2 to 6 inch, 11 to 22 bar |
|---|---|---|---|---|---|---|
| 16 to 38°C | 15 minutes | 6 hours | 30 minutes | 12 hours | 1 1/2 hours | 24 hours |
| 5 to 16°C | 20 minutes | 12 hours | 45 minutes | 24 hours | 4 hours | 48 hours |
| Below 5°C | 30 minutes | 48 hours | 1 hour | 96 hours | 72 hours | 8 days |
The manuals give the pressure columns in psi as well: up to 11 bar is up to 160 psi. A house on a roof tank runs at a small fraction of that, and Ashirvad's acceptance test at 10 bar also falls in the first column of each size.
Three notes from the same manual that the table does not show:
- The figures are laboratory estimates. Ashirvad says field conditions can vary significantly and will increase set and cure times.
- Hot water lines may need 50 percent longer cure, or more, before running at full hot service.
- The clock starts after the last joint on the line, not the first.
Our own advice is more cautious than the table. On a house, make the last joint in the evening and test the next morning. Nothing is lost, and it covers the humid day, the cold morning and the joint someone made in a hurry. How to run that test is in pressure testing CPVC before tiling.
From our shop
Products in this guide
Live dealer prices. Add to cart, or ask for a GST quote on the whole list.
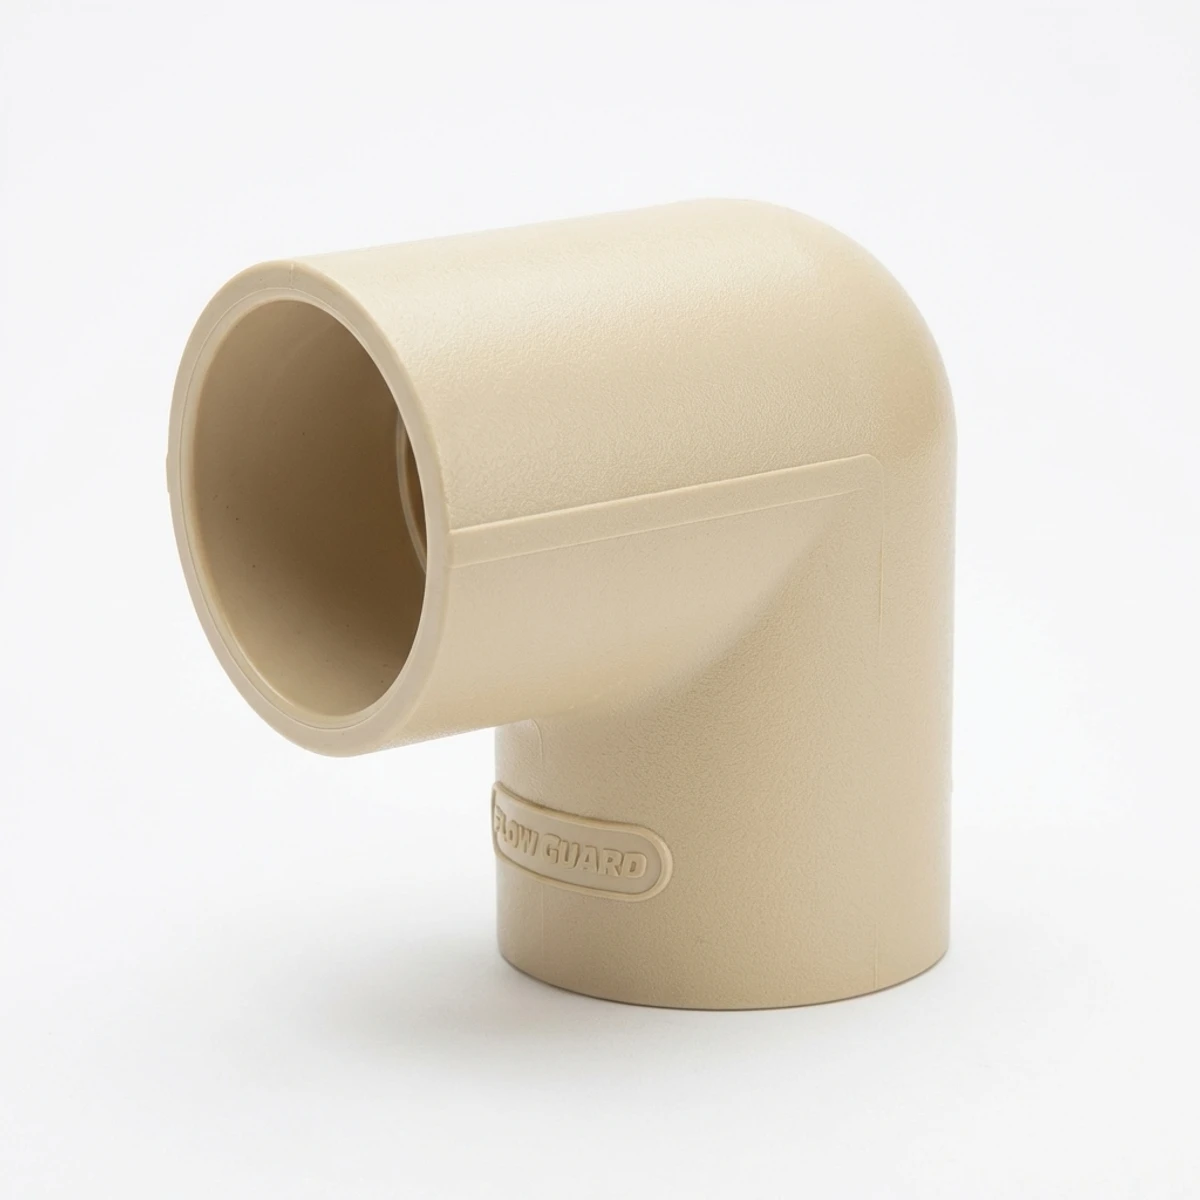
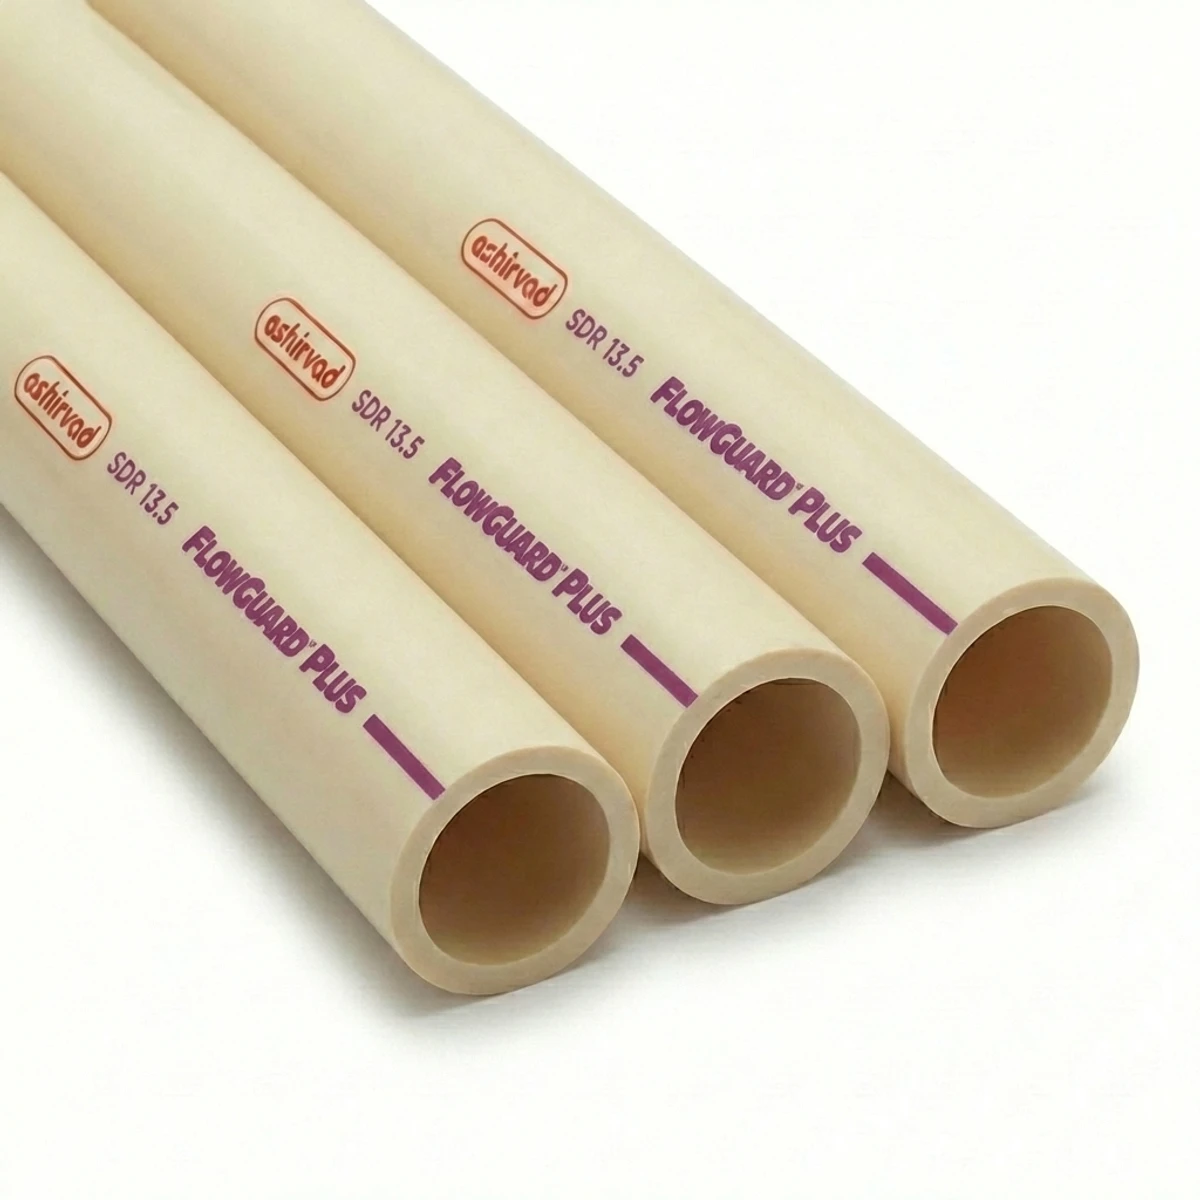
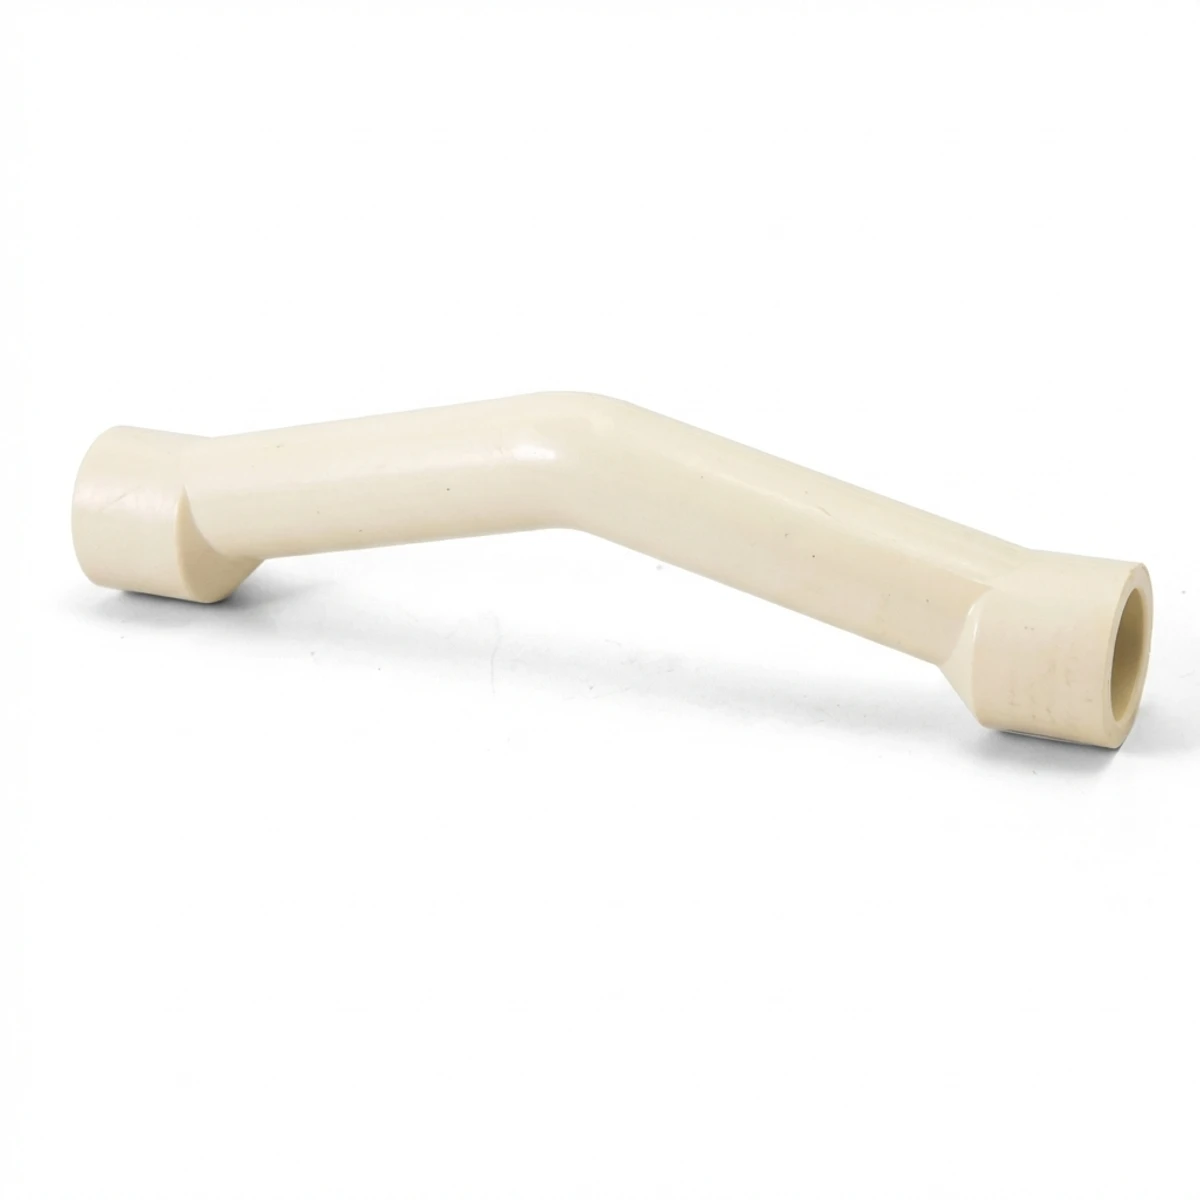
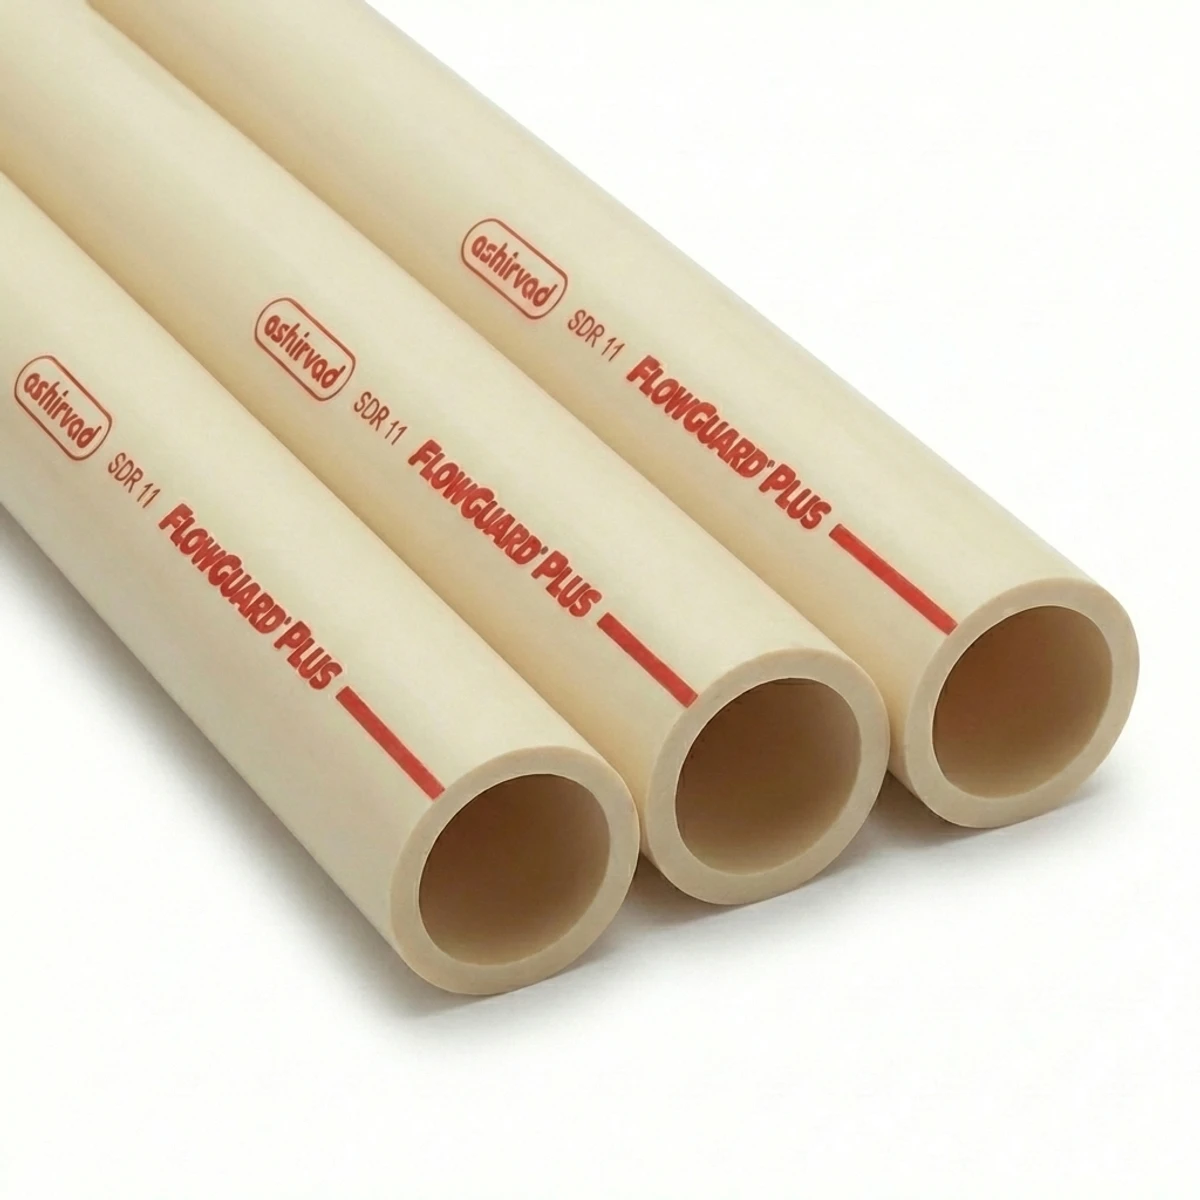
How many joints does a tin make?
Ashirvad does not publish a coverage figure that we could find. IPS, whose Weld-On cements Astral sells, publishes an estimate per quart (about 946 ml): roughly 300 joints at 1/2 inch, 200 at 3/4 inch and 125 at 1 inch, where one joint means one socket, so an elbow is two joints and a tee is three. IPS calls these laboratory estimates to be used as a general guide, and its size columns are for its own pipe ranges. Scaled to the tin sizes on our shelf, a 237 ml tin is about a quarter of a quart, which by that estimate is around 75 sockets at 1/2 inch or 50 at 3/4 inch. Count the sockets on your material list and buy one tin more than the arithmetic says. An open tin thickens, and thick cement is cement you should not use.
Mistakes that cause leaking joints
- Thickened cement. A tin left open between joints loses solvent and turns to jelly. Ashirvad says to put the lid back after every application. Thick cement sits on the surface instead of softening it.
- Too little cement. No bead at the socket mouth means a dry patch inside. Ashirvad's principle is that there must be enough cement to fill the gap in the loose part of the joint.
- Too much in the socket. Puddled cement inside a fitting softens the wall and can narrow the bore. Ashirvad's two-step instructions put a thin layer in the socket and a full layer on the pipe, and the same balance works with one-step cement.
- No bevel. The square edge wipes the cement off as the pipe goes in.
- Primer with one-step cement. Ashirvad says do not.
- PVC cement on CPVC. Wrong solvent for the plastic.
- Moving or filling too early. A joint knocked in the first minutes, or a line filled before it has cured, is a classic cause of a weep that only shows up after tiling.
- Working in the afternoon sun. Above 30°C, Ashirvad suggests storing the cement and the pipe in shade, cooling surfaces with a damp rag and drying them before cementing, and making joints in the cooler morning hours.
- Testing with air. Never. Ashirvad warns that pressure testing CPVC with compressed air can cause injury or death. Test with water.
Ventilate the room while you work, keep the tins away from flame, and wash cement off skin straight away. After the pressure test, Ashirvad advises flushing the system for at least 10 minutes to clear traces of cement.
CPVC solvent cement prices
Our selling prices before GST, with the brand's list price where there is a discount, checked on 3 November 2026.
Ashirvad
| Product | Our price | List price |
|---|---|---|
| 1 Step CPVC yellow, 29.5 ml tube | ₹69 | ₹126 |
| 1 Step CPVC yellow, 59 ml | ₹98 | ₹179 |
| 1 Step CPVC yellow, 118 ml | ₹158 | ₹288 |
| 1 Step CPVC yellow, 237 ml | ₹270 | ₹490 |
| 1 Step CPVC yellow, 473 ml | ₹487 | ₹886 |
| 1 Step CPVC yellow, 946 ml | ₹940 | ₹1,709 |
| 2 Step CPVC heavy duty orange, 237 ml | ₹296 | ₹539 |
| 2 Step CPVC heavy duty orange, 946 ml | ₹1,035 | ₹1,881 |
| CPVC purple primer, 237 ml (for two-step only) | ₹229 | ₹416 |
Astral and Supreme
| Product | Our price | List price |
|---|---|---|
| Astral: IPS Weld-On 500 CTS, 50 ml | ₹165 | – |
| Astral: IPS Weld-On 500 CTS, 200 ml | ₹360 | – |
| Astral: IPS Weld-On 500 CTS, 500 ml | ₹835 | – |
| Astral: IPS Weld-On Primer P70, 500 ml (above 65 mm) | ₹655 | – |
| Astral: CPVC 724 adhesive, 500 ml | ₹1,485 | – |
| Supreme: CPVC solvent cement, 100 ml | ₹144 | ₹319 |
| Supreme: CPVC solvent cement, 250 ml | ₹245 | ₹544 |
| Supreme: CPVC solvent cement, 500 ml | ₹443 | ₹984 |
A dash in the list column means the item is sold at list. For the tax on cement, see solvent cement HSN code and GST rate. Full ranges are on the Ashirvad and Astral price list pages.
Buying cement and fittings from us
We stock all of the above at the counter in Viveknagar, along with the pipe and fittings to go with them; CPVC fittings names and uses is a good checklist before you order. Send your list on the quote tool or WhatsApp +91 99801 00987 and we will match the cement to the brand of pipe.
Questions we get asked
How long does CPVC solvent cement take to dry?
For 1/2 to 1 1/4 inch at 16 to 38°C, about 2 minutes to handle and 15 minutes before pressurising up to 11 bar, per the Ashirvad and IPS tables. Allow 50 percent more when it is humid, and longer for hot water.
How long after gluing CPVC can I turn the water on?
On a gravity-fed house the cure times above are the minimum. We suggest leaving the last joint overnight before filling and testing.
Do I need primer for CPVC?
Not with one-step cement on 1/2 to 2 inch pipe; Ashirvad says not to use one. Primer is for two-step systems on larger sizes.
Can I use PVC solvent on CPVC pipe?
No. Use a CPVC cement, and for Ashirvad pipe use Ashirvad's own cement to keep the warranty.
Steps and times on this page are from the Ashirvad CPVC technical manual and the IPS Weld-On set and cure timetable, checked on 3 November 2026. Prices are our selling prices before GST on that date.