CPVC Pressure Test Before Tiling: Pressure, Time and Method
Plumbing Guides
CPVC Pressure Test Before Tiling: Pressure, Time and Method
9 min read
Quick answer: Fill the CPVC system with water, bleed out all the air, plug every outlet and pump it to 10 bar (about 10.2 kg/cm² or 145 psi), then leave it for one hour with no drop on the gauge. That is Ashirvad's acceptance test for its FlowGuard Plus system. IS 2065's hydraulic test for water mains sets 0.5 N/mm² or one and a half times the working pressure, whichever is higher, held for at least half an hour without measurable loss. Test only after the cement has cured, never with compressed air, and always before plastering and tiling.
A leak found on a bare wall costs a coupler and ten minutes. The same leak found after the tiles are on costs a broken wall, new tiles that rarely match, and a week. The pressure test is the cheapest hour on a plumbing job, and it is the one most often skipped or rushed. This is how to do it properly on a house.
Why test before plastering and tiling
Every joint in a concealed line is about to disappear behind plaster, tile adhesive and tile. A weak joint does not always leak at once; at tank pressure it may weep for weeks before the stain shows. A test at several times the working pressure finds it while the pipe is still in an open chase. The Ashirvad CPVC technical manual also points out that concealed CPVC, like any concealed pipe, can be punctured by drilling, hammering or chiselling later, and suggests giving the owner, tilers, carpenters and electricians a pipe route drawing, and adding a contrasting colour to the mortar that fills the chases so the route stays visible.
This guide covers the pressure pipework: CPVC supply lines, hot and cold. SWR drainage is not pumped to pressure and is checked differently.
How long to wait after the last joint
The joints must cure before they are pressurised. Ashirvad's manual, and IPS in its Weld-On set and cure timetable, give the same cure schedule for test pressures up to 160 psi, or 11 bar, which covers the 10 bar test:
| Temperature during assembly and cure | 1/2 to 1 1/4 inch | 1 1/2 to 2 inch | 2 1/2 to 6 inch |
|---|---|---|---|
| 16 to 38°C | 15 minutes | 30 minutes | 1 1/2 hours |
| 5 to 16°C | 20 minutes | 45 minutes | 4 hours |
| Below 5°C | 30 minutes | 1 hour | 72 hours |
The times start from the last joint made, assume relative humidity of 60 percent or less, and need 50 percent more in damp or humid weather. Ashirvad adds that these are laboratory figures and that site conditions will increase them. Our advice is simpler: finish the last joint in the evening and test the next morning. The full table, with the longer times for higher pressures, is in our CPVC solvent cement guide.
Test pressure and how long to hold it
| Source | Test pressure | Hold | Pass |
|---|---|---|---|
| Ashirvad CPVC technical manual, system acceptance test | 10 bar | 1 hour | No leak; system filled with water and all air removed first |
| IS 2065, testing of mains after laying (clause 14.2) | 0.5 N/mm², or maximum working pressure plus 50 percent, whichever is greater | At least half an hour | The pressure holds without measurable loss after the pump is stopped |
For a house on a roof tank the working pressure is low, so the IS 2065 figure works out at its 0.5 N/mm² minimum, which is 5 bar or about 5.1 kg/cm². Ashirvad's 10 bar is double that. We suggest testing an Ashirvad system to Ashirvad's figure: it is the maker's own acceptance test, and it is the one to have done if you ever need to talk about the warranty. IS 2065 also says the gauge should be accurate and preferably recalibrated before the test, that a power-driven test pump should not be left unattended, and that care should be taken not to exceed the test pressure.
Unit conversions, since gauges in the market read in different units: 1 bar is 100 kPa, about 1.02 kg/cm² and about 14.5 psi. So 10 bar is about 10.2 kg/cm² or 145 psi, and 0.5 N/mm² is 5 bar.
One rule without exceptions: test with water, never with compressed air. Ashirvad's manual says pressure testing CPVC with compressed air is dangerous and can result in injury or death. Compressed air stores far more energy than water at the same pressure, which is why a failure under air is violent rather than a drip.
From our shop
Products in this guide
Live dealer prices. Add to cart, or ask for a GST quote on the whole list.
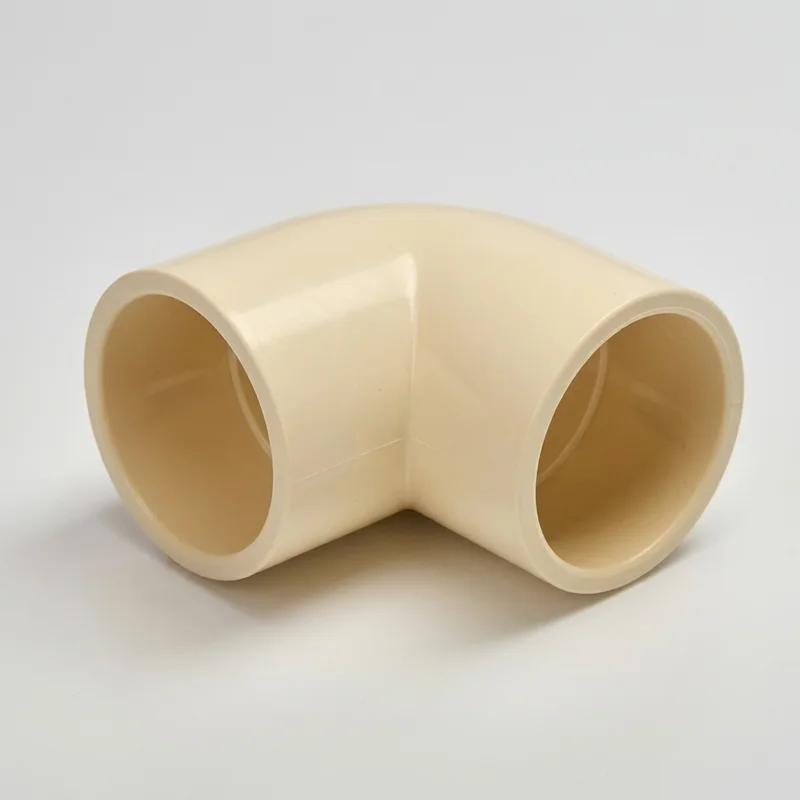
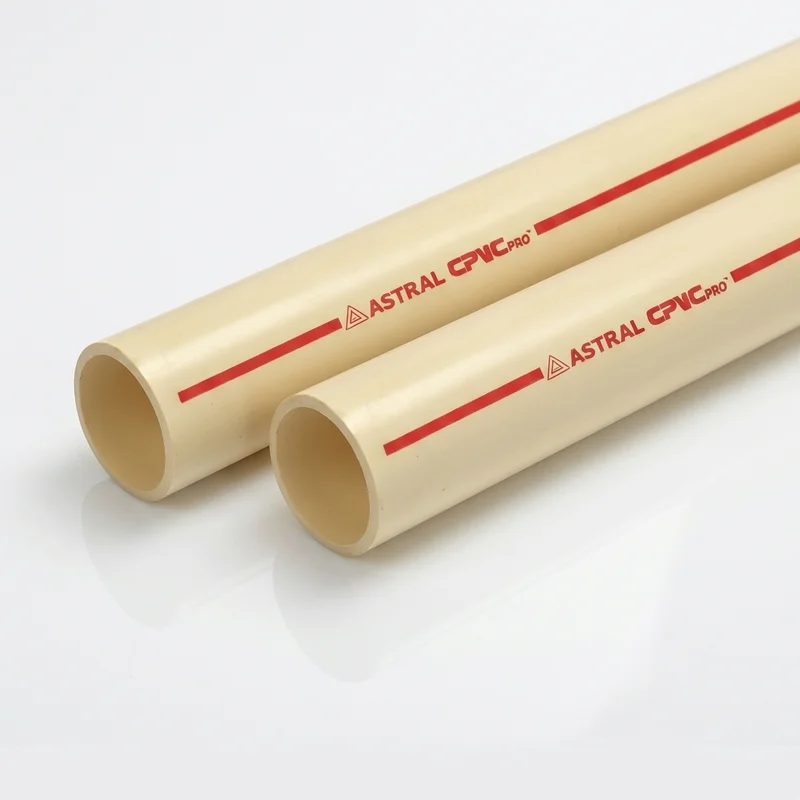
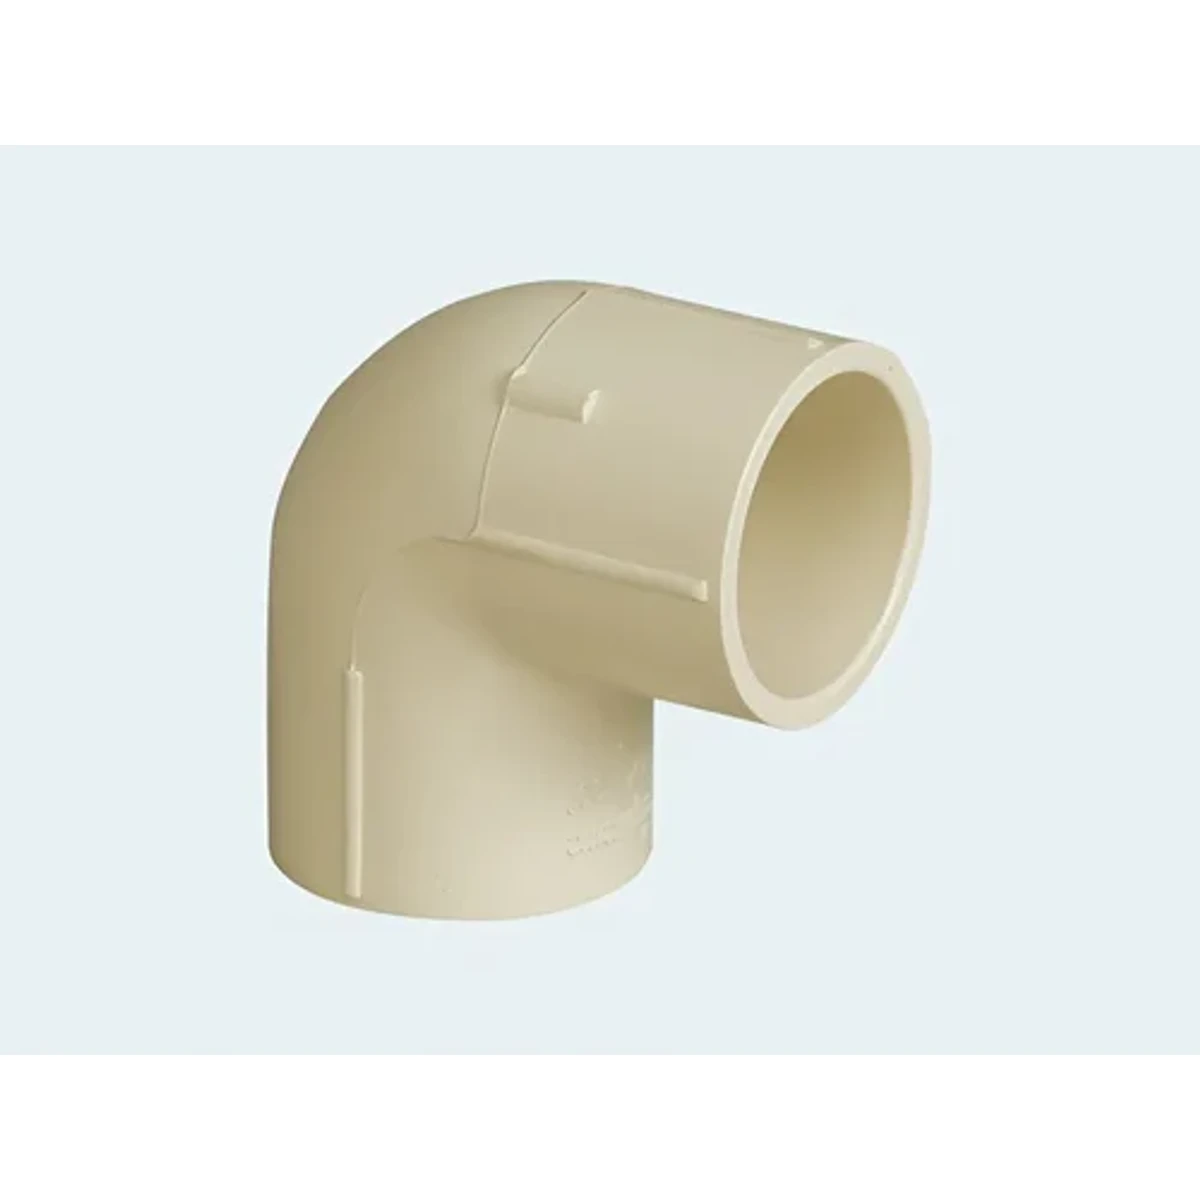

What you need
- A hand test pump with a pressure gauge. The common plumber's pump has a small water tank, a hand lever and a gauge. Choose a gauge whose full scale is comfortably above 10 bar so the needle sits in the middle of the dial, not at the end. We do not list test pumps in our online catalogue; ask and we will quote one.
- Plugs and caps for every opening. Threaded end plugs for every brass tap point, and socket end caps on any pipe left open for a future connection.
- PTFE tape for the plugs, so the threads seal for the test.
- Ball valves, if you want to test the house in sections.
- A dry cloth, tissue paper, a torch and a marker pen.
Prices for the plugs, caps and valves we stock are in the table further down.
How to pressure test CPVC plumbing, step by step
- Check the cure time has passed since the last joint, using the table above.
- Close every opening. Fit an end plug with PTFE tape into every threaded point and an end cap on every open pipe. Do not connect geysers, pumps, mixers or cisterns for the test. They are not part of the pipework and have their own pressure ratings.
- Connect the test pump at the lowest convenient point, through a valve so it can be isolated.
- Fill slowly. Ashirvad's manual says to fill the system with water and remove all air from the farthest and highest points in the run. Leave the highest plug loose, fill until water runs out of it with no spitting or air, then tighten it.
- Pump up to the test pressure steadily. Do not overshoot.
- Close the valve to the pump, note the reading and the time. Write both on the wall next to the gauge.
- Walk every joint while you wait, with the torch and a dry tissue. Pay most attention to threaded points and anything made last.
- Read the gauge at the end of the hour. No drop and no wet joint is a pass. Photograph the gauge with the time visible for your records.
- Release the pressure slowly at the highest point.
- Flush. After hydrostatic testing, Ashirvad advises flushing the system for at least 10 minutes to remove trace amounts of solvent cement.
Reading a pressure drop
- A small fall in the first minutes, then steady. Usually trapped air settling or the pipe taking up. Pump back to the test pressure and start the hour again. If it now holds, it is a pass.
- A slow, steady fall that does not stop. A leak. A drop of any size that continues over the hour means water is going somewhere.
- A fast fall. An open plug, a split pipe or a joint that has pushed out. You will usually hear or see it.
- A rise. The water in the pipe is warming, typically on an exposed roof run in the sun. Water barely compresses, so a sealed pipe reacts strongly to temperature. Test exposed sections in the morning, and compare readings at similar temperatures.
IS 2065's pass test is the right mindset: the pressure should maintain itself without measurable loss. A needle that "only dropped a little" has failed.
Finding and fixing the leak
- Split the system. Close the ball valves that isolate each bathroom or floor and test each part on its own. The section that drops has the leak.
- Dry and wipe. Dry each joint in that section, then hold a tissue under it. A weeping joint shows on the tissue.
- Check the threads first. Plugs and threaded points are the easiest to rule out and to fix: more PTFE tape, re-tighten, re-test.
- Cut out a leaking solvent joint. Ashirvad's manual is clear that if a leak is found, the joint must be cut out and discarded and a new section installed using couplings. Do not smear cement over the outside of a leaking joint.
- Wait the cure time and test again. The repaired joints are new joints.
For a pipe that is damaged later, after plastering, Ashirvad describes a repair method on its website and ends it with the same instruction we would give: conduct a pressure test before replastering.
A practice we recommend: once the test is passed, keep the system full and under pressure, with the gauge left on, while plastering and tiling go on. If a nail or a drill bit hits a pipe, the gauge shows it the same day rather than months later.
Plugs, caps and valves for the test
Our selling prices before GST, with the list price, checked on 3 November 2026. Hand test pumps and gauges are quoted on request.
| Item | Our price | List price |
|---|---|---|
| Ashirvad CPVC threaded end plug, 1/2 inch | ₹7 | ₹14 |
| Ashirvad CPVC threaded end plug, 3/4 inch | ₹8 | ₹16 |
| Ashirvad CPVC end cap, 1/2 inch | ₹10 | ₹19 |
| Ashirvad CPVC end cap, 3/4 inch | ₹13 | ₹25 |
| Astral CPVC end cap, 1 inch | ₹15 | ₹32.50 |
| Ashirvad CPVC end cap, 1 1/4 inch | ₹40 | ₹80 |
| Astral CPVC end plug threaded, 1/2 inch | ₹7 | ₹15.50 |
| Ashirvad CPVC ball valve, 1/2 inch | ₹76 | ₹168 |
| Ashirvad CPVC ball valve, 3/4 inch | ₹131 | ₹290 |
| Ashirvad CPVC ball valve, 1 inch | ₹242 | ₹538 |
| Ashirvad CPVC coupler, 1/2 inch (for repairs) | ₹12 | ₹24 |
| Ashirvad CPVC coupler, 3/4 inch (for repairs) | ₹14 | ₹28 |
| Ashirvad CPVC coupler, 1 inch (for repairs) | ₹22 | ₹44 |
| Astral PTFE tape, 12 mm x 8 m | ₹35 | – |
A dash in the list column means the item is sold at list. The full fittings range is on the Ashirvad and Astral price list pages, and our 30x40 house material list shows how many plugs a typical house needs.
Buying from us
We stock CPVC pipe, fittings, valves, cement and test plugs at the counter in Viveknagar, Bengaluru 560047, and quote test pumps on request. Send your list through the quote tool or WhatsApp +91 99801 00987.
Questions we get asked
What pressure should CPVC pipe be tested at?
Ashirvad specifies 10 bar for one hour for its FlowGuard Plus system. IS 2065's test for water mains is 0.5 N/mm² (5 bar), or one and a half times the working pressure if that is higher, for at least half an hour.
How long should a plumbing pressure test last?
One hour at 10 bar on an Ashirvad CPVC system, by the manufacturer's manual. IS 2065's minimum hold is half an hour.
Can I pressure test CPVC with air?
No. Ashirvad warns that testing CPVC with compressed air can cause injury or death. Use water.
How soon after gluing can I pressure test CPVC?
At 16 to 38°C, 15 minutes for 1/2 to 1 1/4 inch joints and 30 minutes for 1 1/2 to 2 inch, for test pressures up to 11 bar, by the Ashirvad and IPS tables, plus 50 percent in humid weather. We suggest waiting overnight.
Test pressures, hold times and procedures on this page are from the Ashirvad CPVC technical manual, Ashirvad's website, the IPS Weld-On timetable and IS 2065:1983, checked on 3 November 2026. Prices are our selling prices before GST on that date.